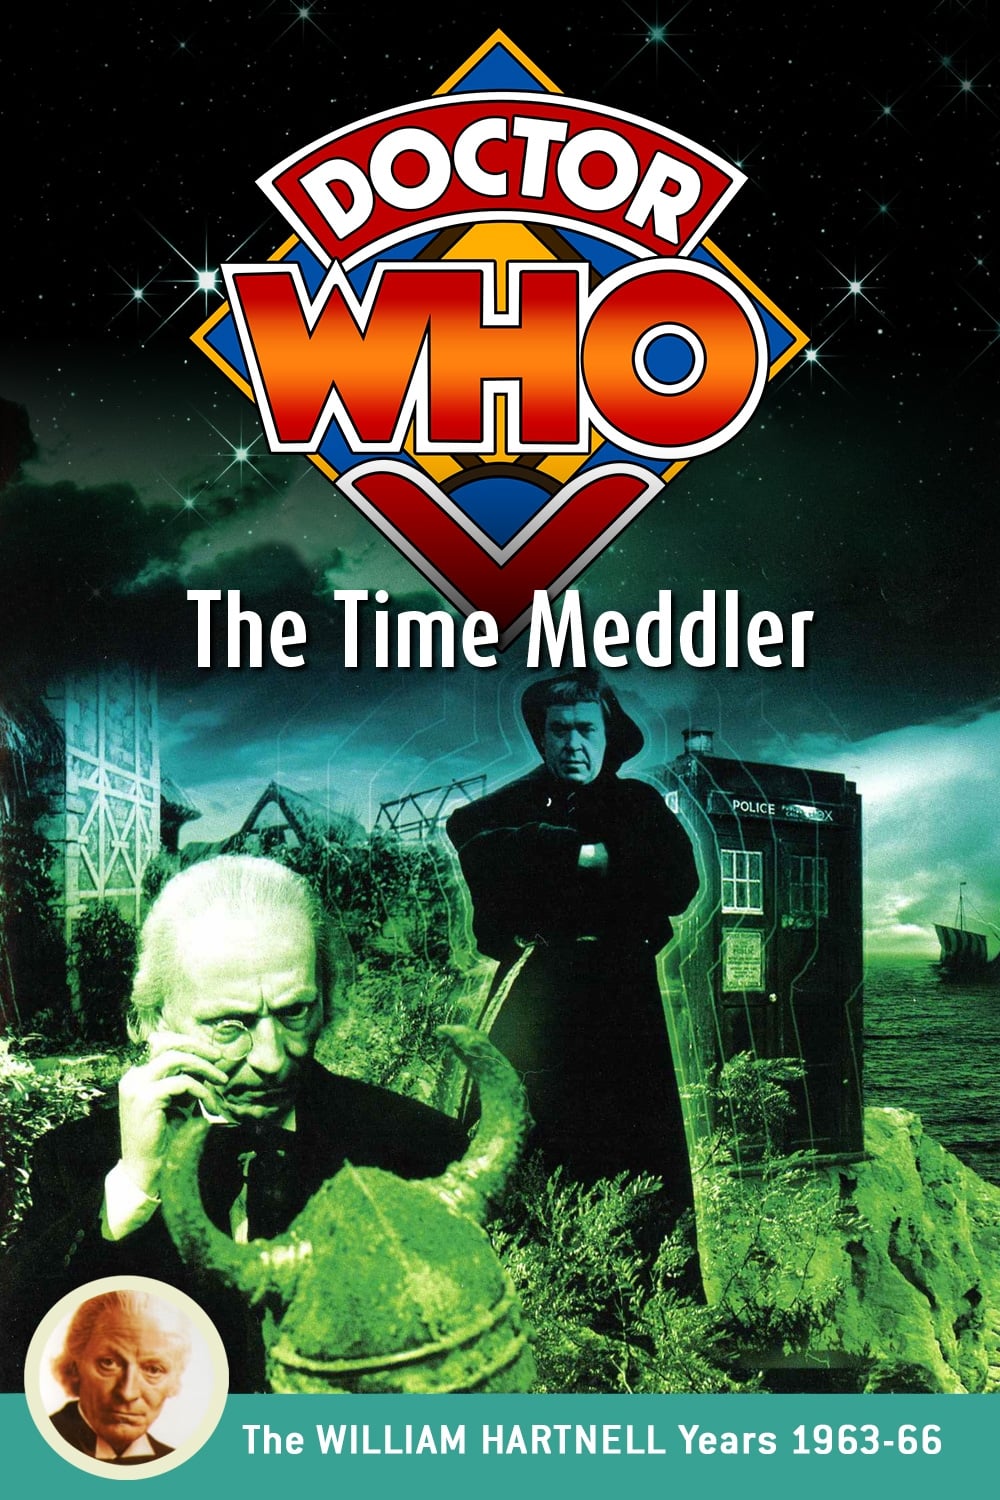
Doctor Who: The Time Meddler
In England, 1066, the Doctor confronts a mysterious Monk who is attempting to change history.
Doctor Who: The Time Meddler
July 24, 1965
5
ratings
0
reviews
0
video reviews
Cast (12)
William Hartnell
The Doctor
Maureen O'Brien
Vicki
Peter Purves
Steven Taylor
Peter Butterworth
The Monk
Alethea Charlton
Edith

Peter Russell
Eldred

Michael Miller
Wulnoth
Michael Guest
Saxon Hunter
Norman Hartley
Ulf
Geoffrey Cheshire
Viking Leader
David Anderson
Sven
Ronald Rich
Gunnar the Giant
Crew (11)
Directing
Douglas Camfield
Director
Writing
Dennis Spooner
Writer
Donald Tosh
Script Editor
Production
Verity Lambert
Producer
Sound
Ray Angel
Sound
Charles Botterill
Music
Art
Barry Newbury
Production Design
Camera
No data availableCostume & Make-Up
Daphne Dare
Costume Design
Sonia Markham
Makeup Artist
Crew
Dave Anderson
Fight Choreographer
Editing
No data availableLighting
Ralph Walton
Lighting Director