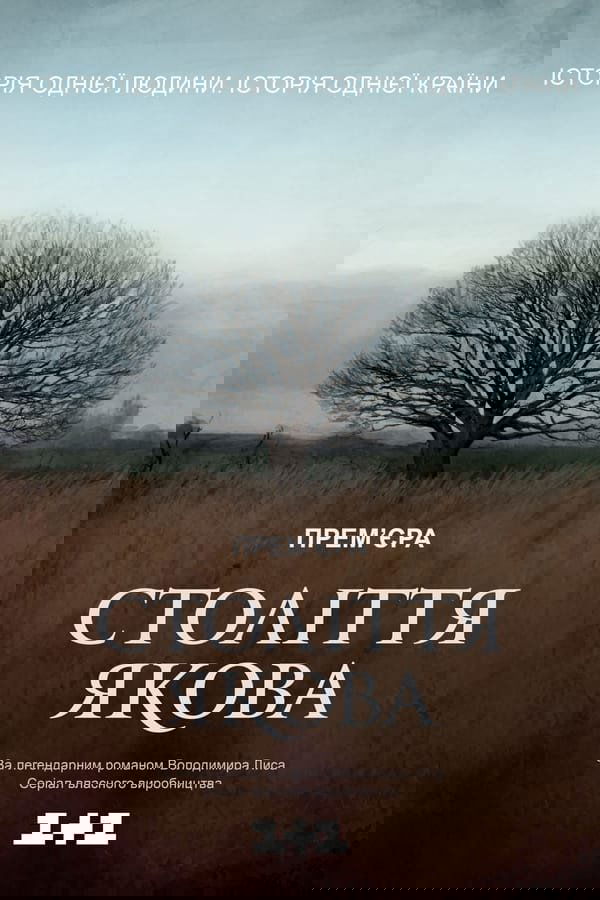
Jacob's Century
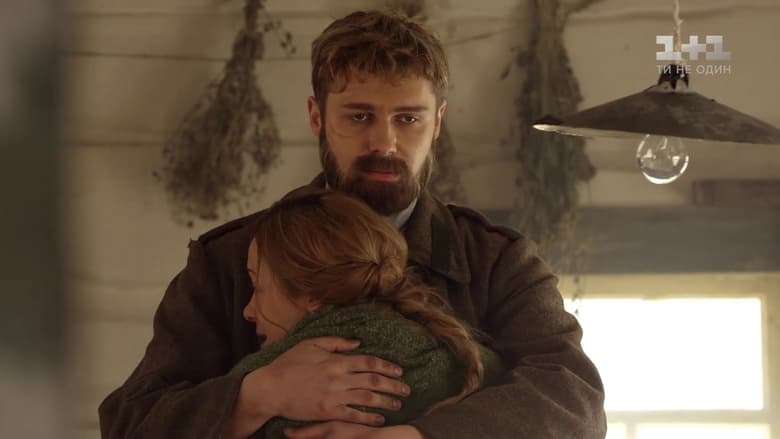
The story is based on the history of Ukraine through the eyes of a long-lived Volyn peasant, Yakiv Mekh. Since childhood, he has been in love with Ulyana, but despite the reciprocity of feelings, her parents married her off to a boy from a wealthy family. Unable to change anything, Yakiv leaves the village. He joins the Polish army and meets a Polish noblewoman, Zosia... His fate includes wars, captivity, and the loss of loved ones, but its main outcome is the preservation of humanity and the ability to love.
Jacob's Century
September 30, 2016
Image gallery